NixOS Kiosk
NixOS Kiosk is a free system that can be installed onto a regular computer with an Intel or AMD processor, like an Asus NUC. It provides a protected “kiosk environment” that efficiently displays your Hi-Def Signage channel without the risk of sudden system notifications, as can sometimes happen with Windows.
Prerequisites
To install NixOS kiosk on your playback device, you need the following:
- One USB thumb drive of at least 4GB size, from which the data can be erased
- A mouse and keyboard that you connect to the playback device
- A computer that you use to download the NixOS Kiosk software on and put it on the USB thumb drive
Creating the NixOS Kiosk thumb drive
To create thumb drive with the NixOS Kiosk software on it that can be used to install the software on your device follow these steps:
- Use your computer to download the latest NixOS Kiosk software image.
- Use the free tool Balena Etcher to write th downloaded image to your USB thumb drive
Preparing the player
To correctly install NixOS, be sure to disable Secure boot in the BIOS. On most devices you can open the BIOS by pressing the F2 or DEL key immediately after startup. In modern NUCs, for instance, the Secure boot option can be found in the Boot menu, where you can choose to disable it.
Furthermore, we always recommend to configure a player to resume the last state after a power failure. That way if the player loses power, it will automatically start up again when the power comes back on. On modern NUCs you can find this option in the Power menu under Secondary power options. You can then set After power failure to Last state.
Installing the NixOS Kiosk on the player
To install the NixOS Kiosk software on the player you need to connect the player to the TV screen and connect the mouse and keyboard to the player. Then follow these steps:
- Put the USB thumb drive in one of the USB ports of the player and turn it on
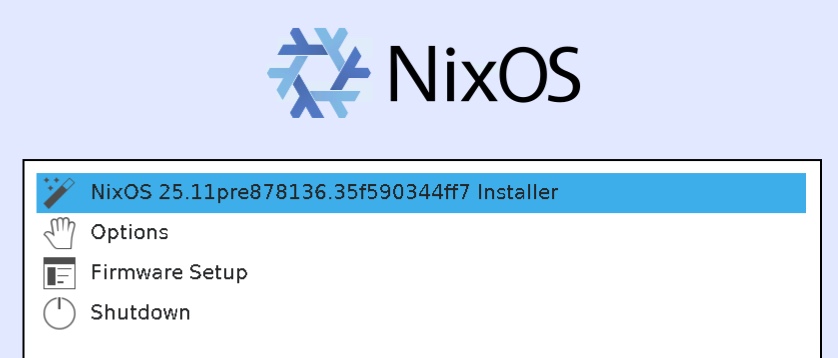
- In the menu that appears, leave it at option 1 and press Enter
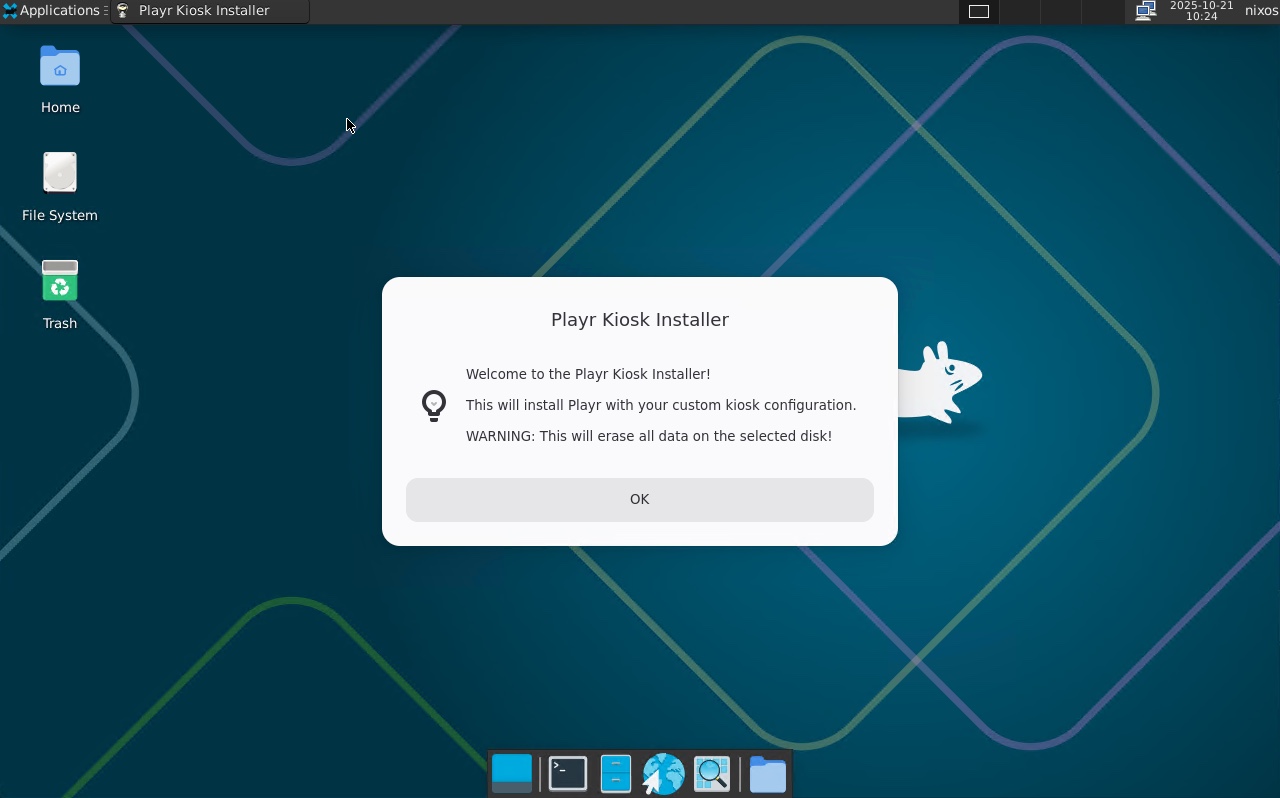
- A desktop will be shown and the Hi-Def Signage installer will start automatically. Press OK to continue.
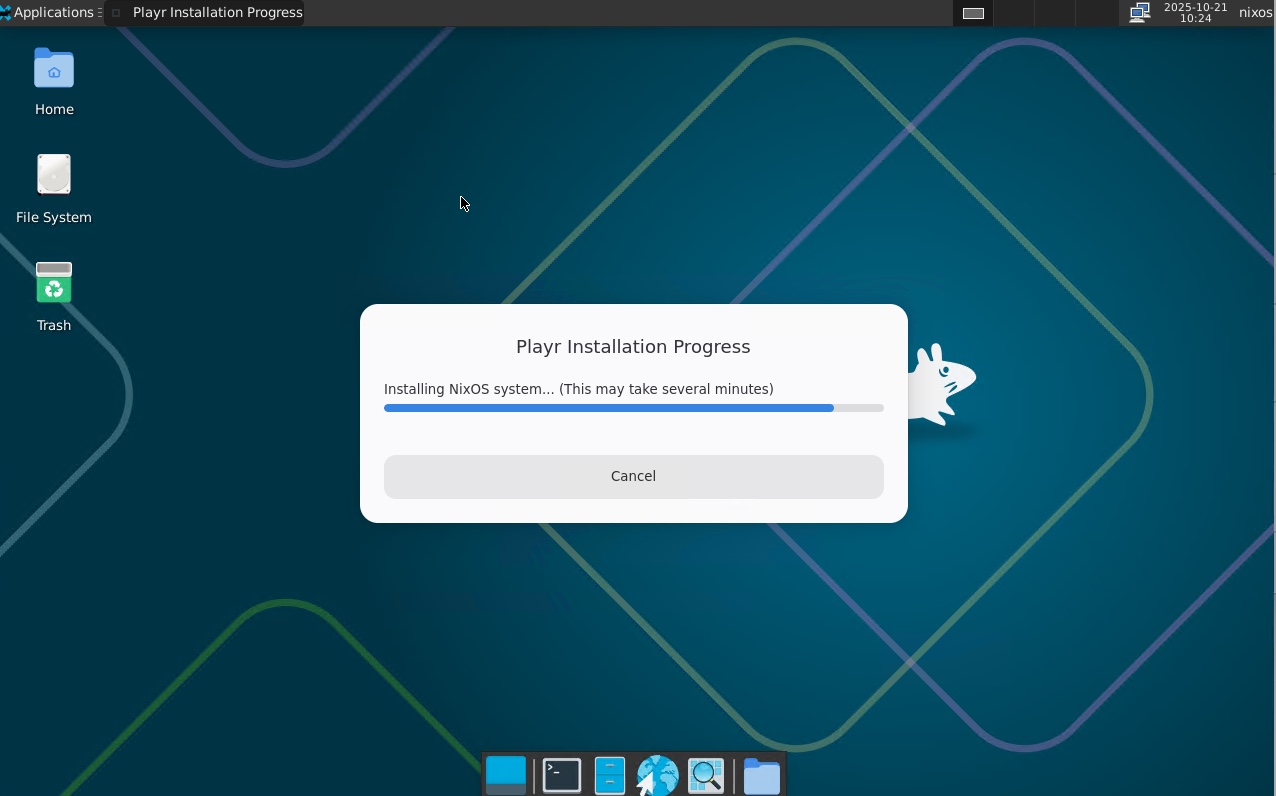
- Select the target drive to install the image to and wait a couple of minutes. The progress bar might be stuck at the same position for some time, but don't worry about that.
- When the installation process is finished, select OK to reboot
- After reboot, remove the USB thumb drive
- The player will now show the code that enables you to register the device, see these instuctions. After that your channel will start to play automatically.
Configuring Wifi
Right after your playback device boots, you'll get a menu that gives you 5 seconds to choose to go to a desktop to configure your network settings. When the desktop has loaded click in the top right corner to open and configure those settings. When you're done, you can click in the rop right corner to select to reboot the device.